1968 F-100 Ranger

Post progress reports on your project truck(s)

Moderator: FORDification

User avatar
willowbilly3
100% FORDified!
100% FORDified!
Posts: 1591
Joined: Mon Jul 19, 2004 7:38 pm
Location: Black Hills

re: 1968 Ranger (5-14-2005 Update)

Post by willowbilly3 »

Does that truck have an F-250 rear end?
That is about my favorite color. I have my eye on a 68 that color.
Way to git-er-done. I think that you will find the only "temporary" wiring fix is the one that falls apart again. :lol: :lol: Most of us never go back in if it keeps working.
Great ideas have always encounter violent opposition from mediocre minds.
dcbullet
Blue Oval Fan
Blue Oval Fan
Posts: 698
Joined: Fri Apr 01, 2005 6:28 pm
Location: Oceanside, CA

Re: re: 1968 Ranger (5-14-2005 Update)

Post by dcbullet »

willowbilly3 wrote:Does that truck have an F-250 rear end?
Yes it does. That's another project down the road when I decide whether to have 3/4 ton front end as well or go back to 1/2 ton rear end.

Thanks for the support guys!
dcbullet
Blue Oval Fan
Blue Oval Fan
Posts: 698
Joined: Fri Apr 01, 2005 6:28 pm
Location: Oceanside, CA

re: 1968 Ranger (5-14-2005 Update)

Post by dcbullet »

Ok here is a small update.

As you can see in my first post giving the truck a good washing really helped it out. But you could still run your fingers on the paint and it feels rough, and it looked pretty dull. So I decided to try my hand at restoring it.

My process was:

1. Wet sand with 2000 grit wet/dry sandpaper.
2. Clean of the residue.
3. Polish with a polishing compound.
4. Wax.

Here is a "before and after" shot. Sorry for the shadows that make it a little hard to see. I did the process from the front of the bed until about 2 feet in front of the wheel well. Hopefully you can see the difference. :lol:

Image

Here is after wetsanding:

Image

And here is the final product, you can also see my neighbor's Chevy. :box:

Image


That's all I got done. :lol: I've done alot of chores this weekend so I was pretty tired after this. I did it all by hand. Probably would be easier and look even better if I had a buffer, but I'm pretty satisfied for now. The paint is very smooth to the touch.

I probably won't get the truck painted for more than a year so I would like to make it look as good as I can with what I've got to work with.
Last edited by dcbullet on Sun May 15, 2005 9:25 pm, edited 1 time in total.
User avatar
flyboy2610
100% FORDified!
100% FORDified!
Posts: 4901
Joined: Sun Oct 03, 2004 6:42 pm
Location: Nebraska, Lincoln

re: 1968 Ranger (5-14-2005 Update)

Post by flyboy2610 »

That looks nice! Well done!
"If the women don't find you handsome, they should at least find you handy."
Red Green

If you're going to live like there's no hell...............
you'd better be right.
http://theworldasiseeit-flyboy2610.blog ... ee-it.html
dcbullet
Blue Oval Fan
Blue Oval Fan
Posts: 698
Joined: Fri Apr 01, 2005 6:28 pm
Location: Oceanside, CA

re: 1968 Ranger (5-15-2005 Update)

Post by dcbullet »

Wow, it's been a while since i last updated this thread, but I have been busy with a lot, which I'll be adding here as soon as I get it done.

The most recent project I completed was to add a power brake booster to my truck. I have drums all around.

Here's the booster as I received it from an ebay purchase:

Image

I cleaned it, sanded it, and painted it before the installation and here's what it looks like after installation (ignore the dirty fingerprints...)

Image

The installation was not technically difficult. I first unbolted the master cylander from the fire wall. Next, I unbolted the brake line support bracket from the steering column. This allowed me to pull the master cylander forward enough to insert the booster. One problem I ran into was that I couldn't easily remove the brake line support bracket from the brake lines. There is very little room on each side of the bold head to fit a ratchet. I will have to get it from underneath but have not done so yet. Here are pictures of what I am referring to:

Can't get a socket around this bolt.

Image

So it is still attached but just dangling. I'll need to go from under the truck.

Image

Another item to note is that you will need to remove this plunger from the master cylindar, because the booster has it's own.

Image

You just yank it out. It is held in by a clip attached to plunger as shown below. It will release after considerable force and your hand will fly up and hit the hood hinge causing pain.

Image

Finally, the last snag I had was getting the correct vacuum tree. The one I my truck looks like this:

Image

The hole pointing down is for the transmission and is not large enough for the 3/8" booster hose. I recevied another tree from a forum member but it did not have the booster hose connector either, but it did have a blocked off hole that I could use. Unfortunately the booster connector that I eventually got from a junkyard was too large to fit into that hole. See below (it won't fit):

Image

So I finally got another attachment from the junkyard that attaches onto my orignal tree and is basically a splitter for the booster hose and the transmission hose.

Image

Well, it works GREAT! What a difference. I used to get a sore right cheek from holding the brake down at stop lights/signs. Not anymore!!
User avatar
dablack00
Blue Oval Fan
Blue Oval Fan
Posts: 695
Joined: Wed Jan 12, 2005 7:32 am
Location: Texas, Lufkin

re: 1968 Ranger (5-15-2005 Update)

Post by dablack00 »

Great Job! Thanks for showing all the problems you ran into. You didn't need to rebuild the booster for installation?
dcbullet
Blue Oval Fan
Blue Oval Fan
Posts: 698
Joined: Fri Apr 01, 2005 6:28 pm
Location: Oceanside, CA

Re: re: 1968 Ranger (5-15-2005 Update)

Post by dcbullet »

dablack00 wrote:Great Job! Thanks for showing all the problems you ran into. You didn't need to rebuild the booster for installation?
I bought it from a seller on Ebay who was selling it as a fuctioning unit and luckily that seems to be the case!
farmtruckman
New Member
New Member
Posts: 111
Joined: Thu Oct 20, 2005 7:51 pm
Location: Washington, Ellensburg

re: 1968 F-100 Ranger

Post by farmtruckman »

dcbullet, thanks for the pictures. I am in the process of doing the exact same intall. I bought a booster on ebay in the exact same condition and am installing it on a 67 lwb. I have posted other threads with some of the problems I am having. If you have a chance, please check them out because your experience is invaluable. My question to you also, is that when you tee'd off of the trans vacuum fitting, does it supply enough vacuum for both. My 352 has no other openings on the manifold to draw vacuum but other member had mentioned that it is the best place.

Again, thanks for the tutorial. It is a big help. :)
dcbullet
Blue Oval Fan
Blue Oval Fan
Posts: 698
Joined: Fri Apr 01, 2005 6:28 pm
Location: Oceanside, CA

re: 1968 F-100 Ranger

Post by dcbullet »

Ok, my latest project was to repaint the hood, which was covered in surface rust, and the tailgate, which came from a different truck and so was the wrong color.

I actually started this project last June. :eek: , but then got sidetracked for the next nine months. I bought automotive paint in an aerosal can from two places. The first was paintscratch.com and the second was autopaintdirect.com . The cans from paintscratch.com were very expensive, something around $30, while the paint from autopaintdirect.com was $14 per can. However, I think the color was a little closer with paintscratch.com. I will note, however, that I had the paint from autopaintdirect.com sitting around for several months, so it is possible that had some negative effect on the color match.

Anyways, here is the process and results:

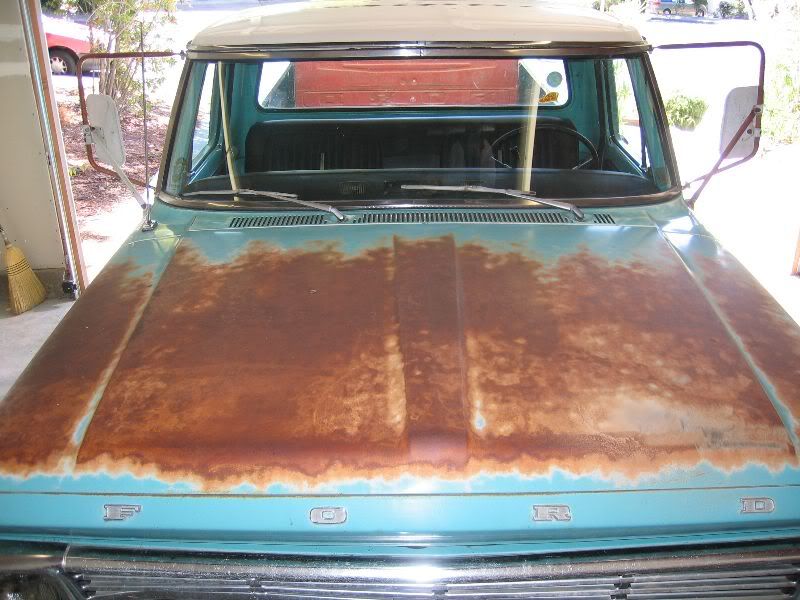
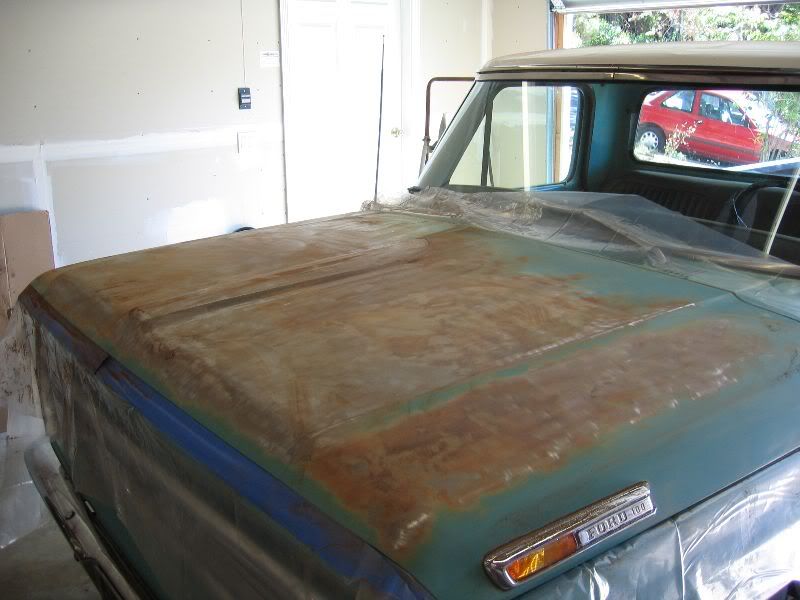
I started with the hood in this condition:

Image

Image

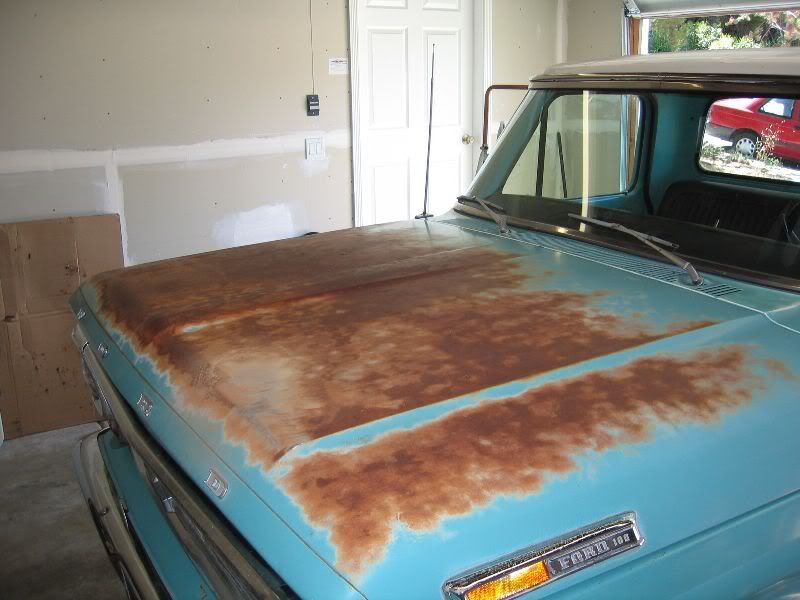
I used a 3M paint removing wheel on my drill and some 80 grit sandpaper to remove most of the paint and rust. Here is half way through:

Image

Image

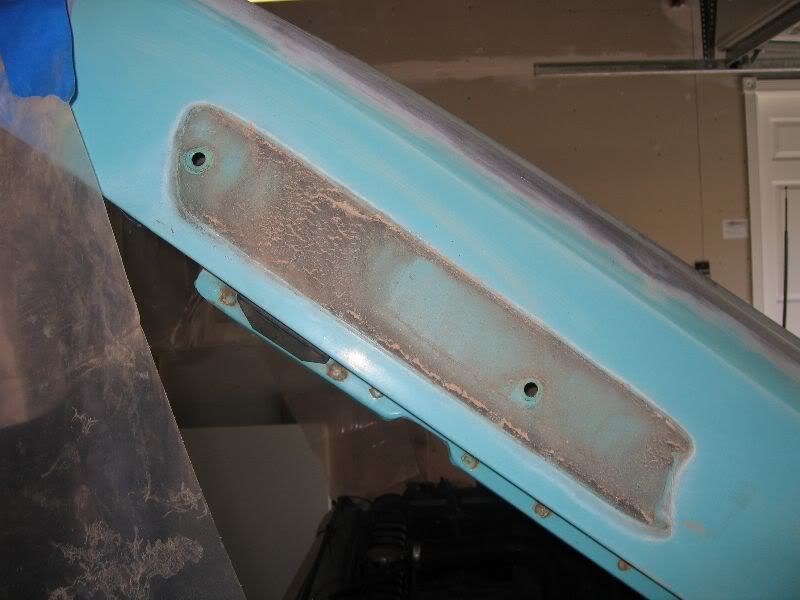
Very dirty under the F-100 reflector:

Image

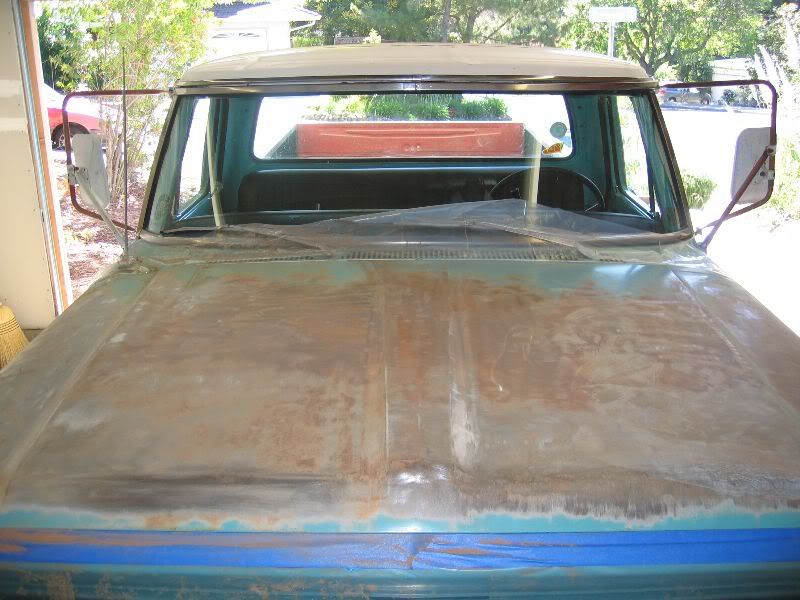
After I got most of the paint and rust off, I took the last little bit off with steel wool and Navel Jelly. Here are the results:
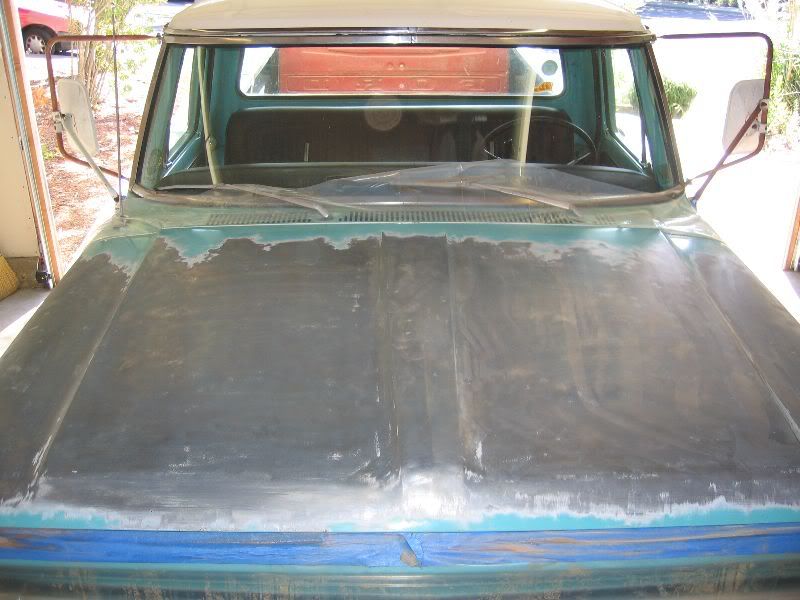
Image

Not a bit of dirt

Image

I primed with SEM self etching primer, which a member here recommended

Image

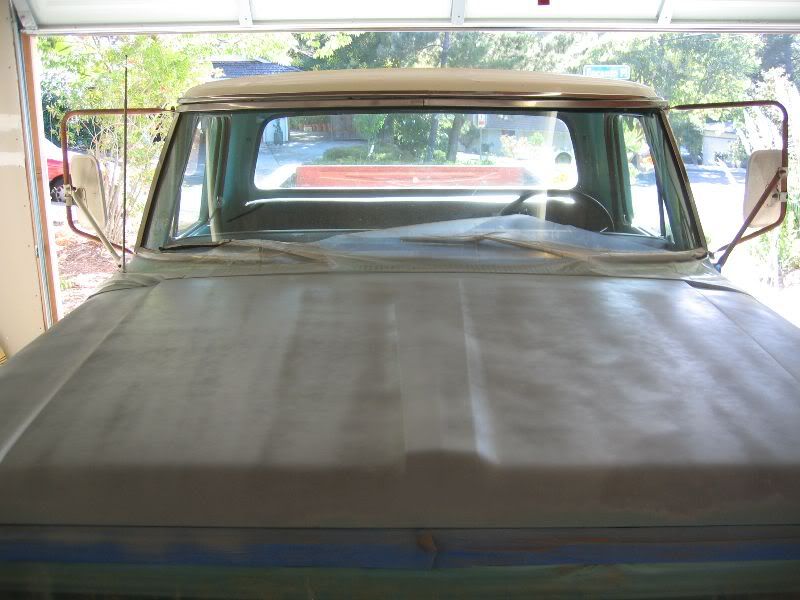
These were the results last June. I had a lot of very "dry" looking spots on the hood and I wasn't really that happy with the results:

Image

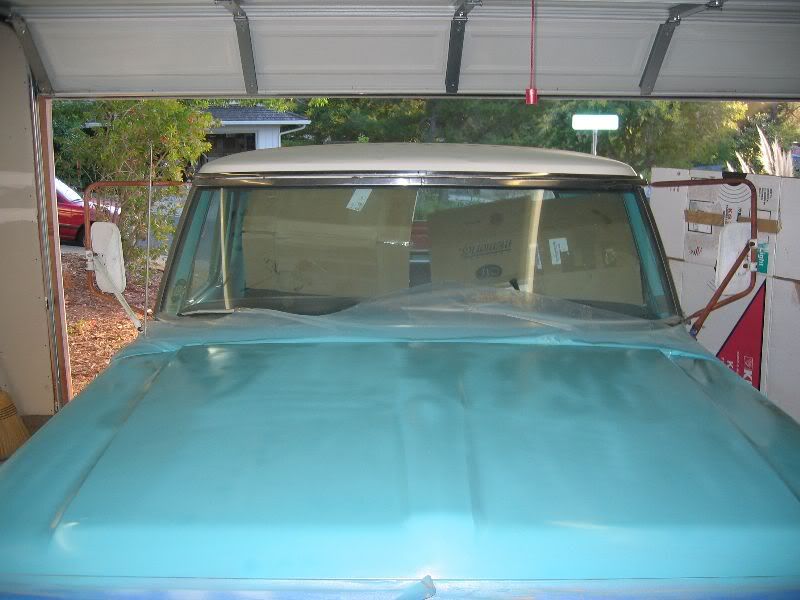
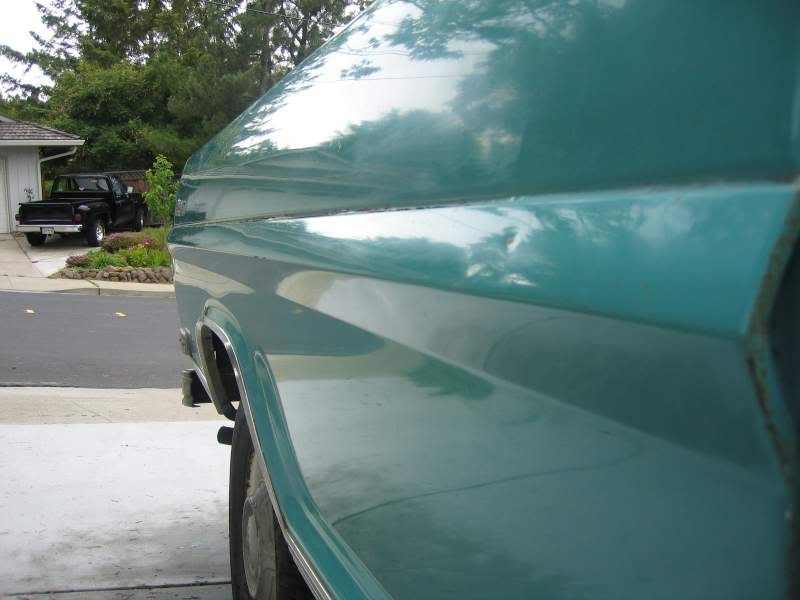
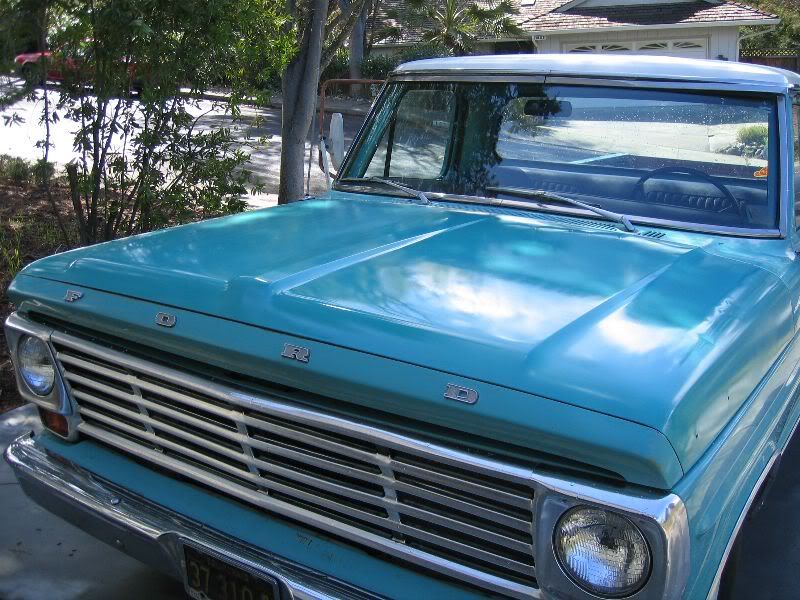
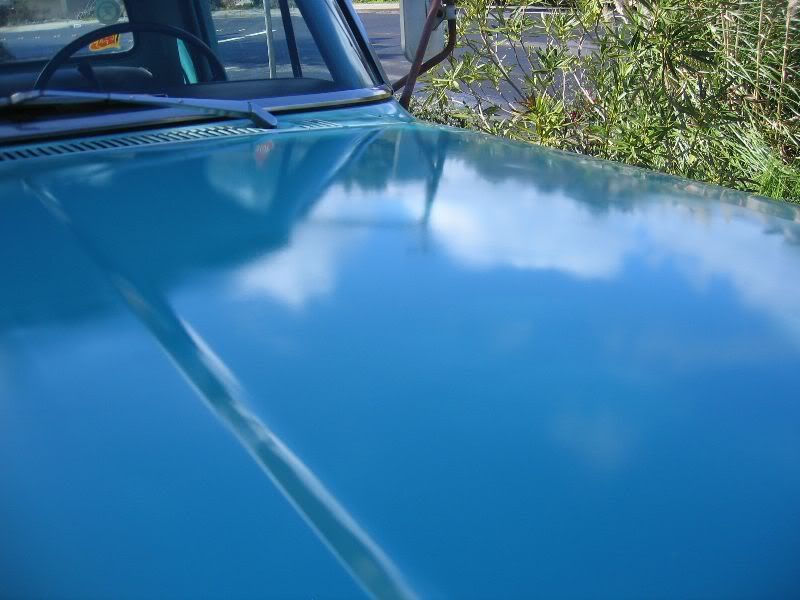
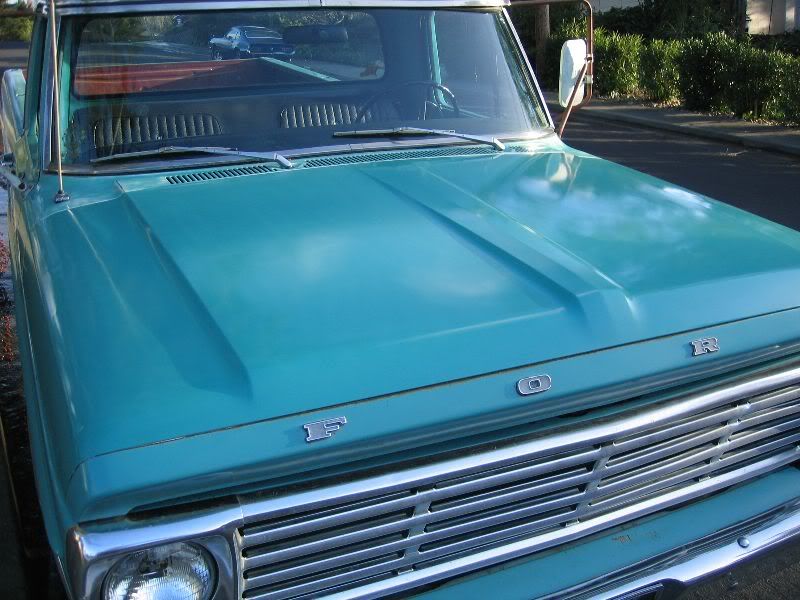
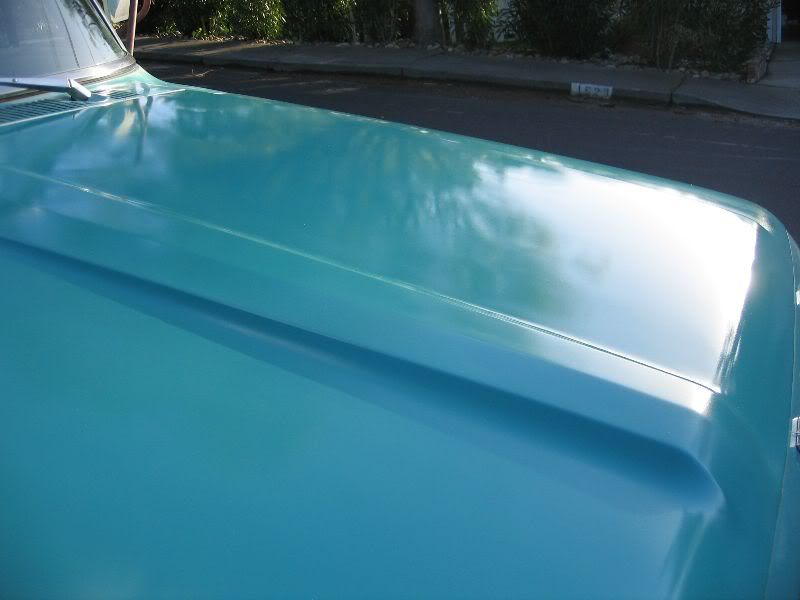
So this March, I sanded the hood with 320 grit sand paper, then 600 grit and got a pretty smooth surface. I gave the hood another couple of coats. Overall, I'm satisfied with the results. It definately is a 20 footer, but it will have to suffice until I get it professionally painted in a couple of years.

Image

Image

Image

Image

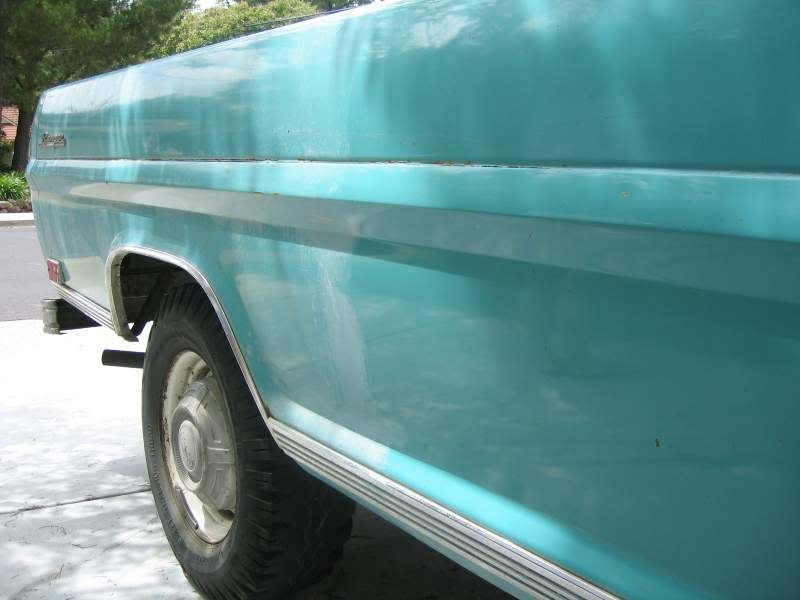
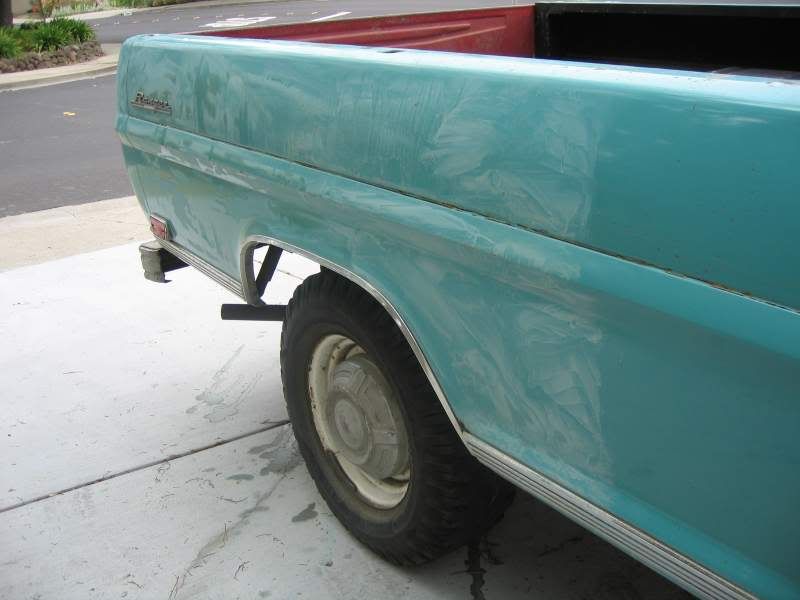
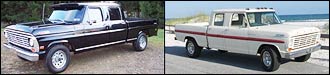
Here is the before and after on the tailgate. I didn't bother to fill the couple of holes in the tailgate because I don't have a welder and I figure I'll get it done right when I get it professionally painted.

Image

Image

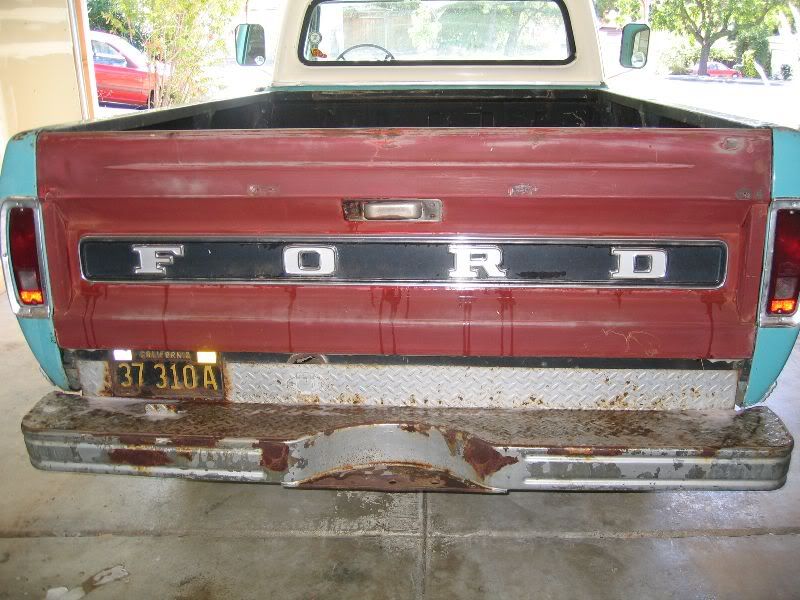
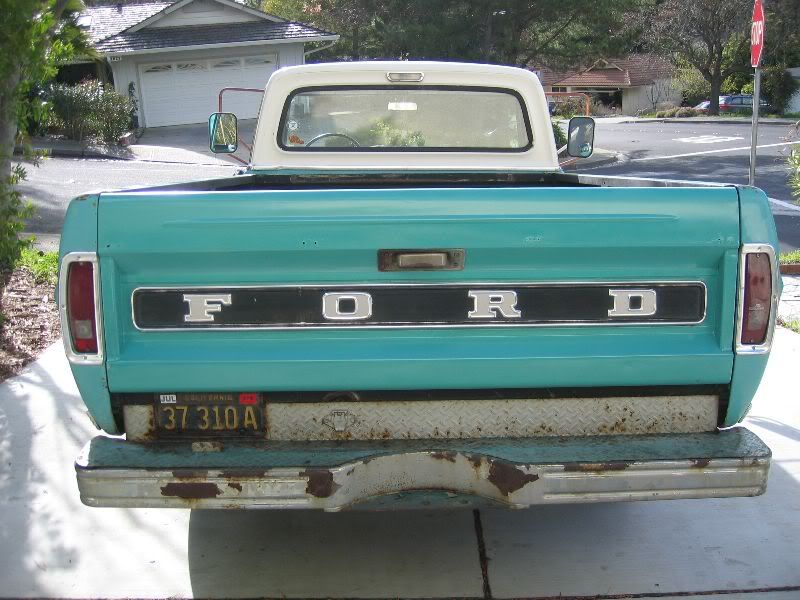
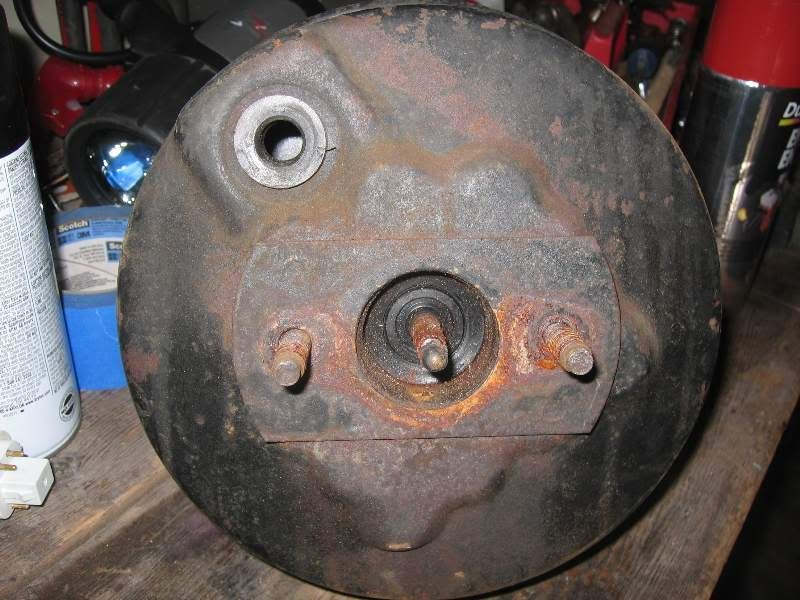
Now I have to do something about that bumper! :cry:

I really tip my hat to anyone who can paint well with an aerosal can. It is pretty tough.
Last edited by dcbullet on Sun Mar 26, 2006 3:28 am, edited 1 time in total.
User avatar
Sharkdance
Preferred User
Preferred User
Posts: 488
Joined: Sun Jul 31, 2005 11:33 pm
Location: Florida, Jacksonville

re: 1968 F-100 Ranger - Picture Heavy (3-25-2006 update)

Post by Sharkdance »

That dont look bad at all! Nice job.
And once again, EXCELLENT post!!
Sharkdance
70 F250 2WD 360/C6
Image
User avatar
trukcrazy
Blue Oval Fanatic
Blue Oval Fanatic
Posts: 905
Joined: Sat Apr 02, 2005 8:55 am
Location: Gulf Breeze, Florida, USA

re: 1968 F-100 Ranger - Picture Heavy (3-25-2006 update)

Post by trukcrazy »

Great post dc. No matter what, it looks a thousand times better than it did. Great job. You're right, now you have to do the bumper, then the wheels , then........... :lol: :clap:
John, #424
1967 F250 crewcab x 2.
2010 Dodge Ram 1500 Sport Quadcab
2008 Challenger SRT8
Image
User avatar
granitestate68
New Member
New Member
Posts: 247
Joined: Mon Jan 10, 2005 7:59 pm
Location: New Hampshire, Derry

re: 1968 F-100 Ranger - Picture Heavy (3-25-2006 update)

Post by granitestate68 »

dc,


That looks great, thanks for the update. Man am I impressed. :clap: :thup: :bow:

Please keep us up to date. WOW

Lee
Image
http://www.fordification.com/galleries/ ... p?pos=-550
1996 F250 Slightly lifted 7.3L Diesel
1961 Falcon Ranchero 144 Inline 6
User avatar
dablack00
Blue Oval Fan
Blue Oval Fan
Posts: 695
Joined: Wed Jan 12, 2005 7:32 am
Location: Texas, Lufkin

re: 1968 F-100 Ranger - Picture Heavy (3-25-2006 update)

Post by dablack00 »

That is as good as it is going to get w/ a rattle can. Looks good.
User avatar
Joe Kriston
Blue Oval Fan
Blue Oval Fan
Posts: 740
Joined: Fri Feb 18, 2005 11:37 pm
Location: Arizona, Phoenix

re: 1968 F-100 Ranger - Picture Heavy (3-25-2006 update)

Post by Joe Kriston »

Bullet,good job,good pics,good info....Thanks for taking the time...very helpful....
This is the point...I'm....talking about everybody! I'm talking about form! I'm talking about content! I'm talking about interrelationships! I'm talking about God, the devil, hell, heaven!!!! Do you understand???? Finally!!!!
User avatar
spartman
Blue Oval Guru
Blue Oval Guru
Posts: 1278
Joined: Thu Oct 07, 2004 2:36 pm
Location: South Dakota, Wallace

Post by spartman »

Lots of great info on that post!

When I fixed my rear lights I wound up getting the four conductor round cable that they use to connect trailers to the truck plugs.

Heavy duty stuff with a thick outer covering on it.
Post Reply