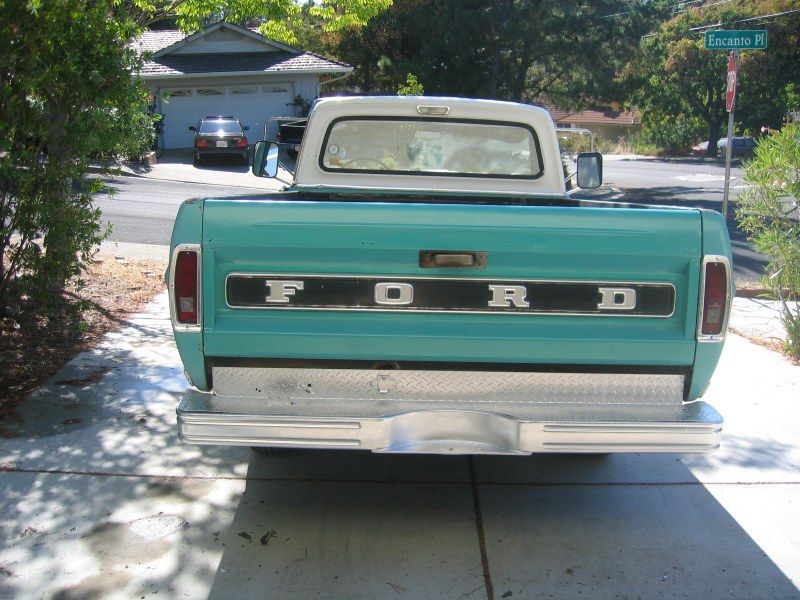
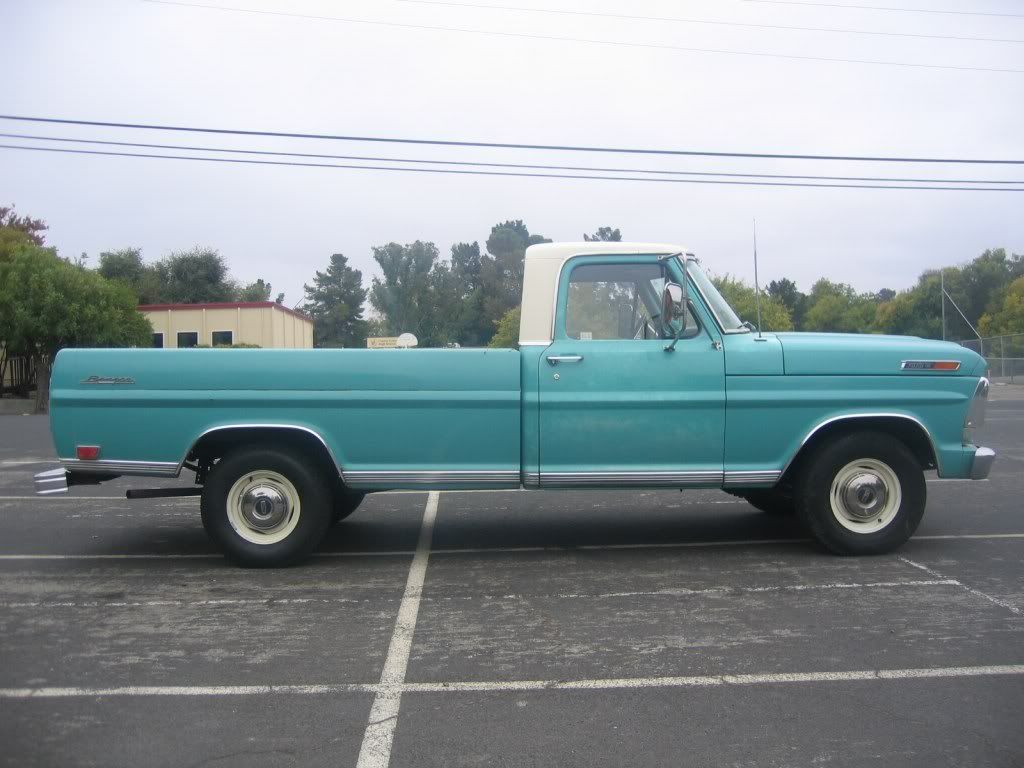
I think it turned out pretty good. I still want to get a chrome bumper at some point because this one is bent down, which is hard to see from this angle.
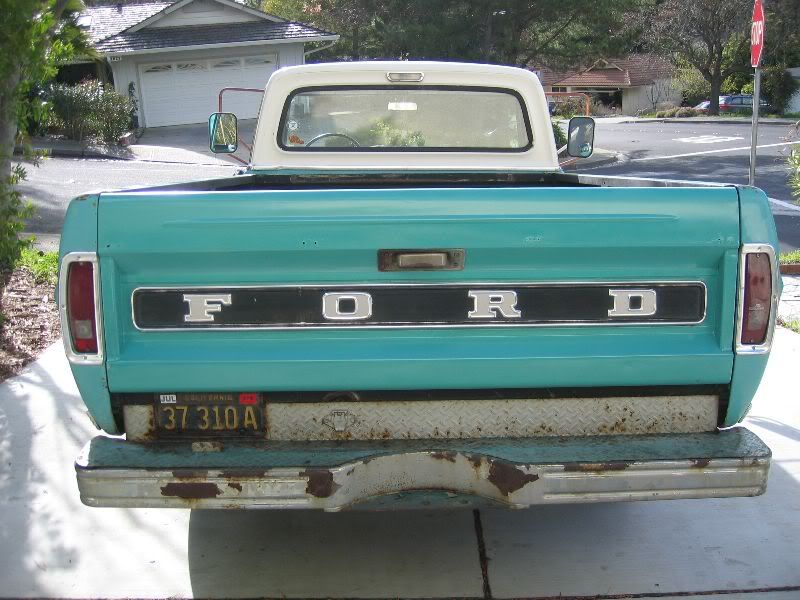
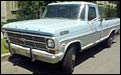
BEFORE:
AFTER:
Moderator: FORDification


I got them on ebay. They don't repop them.Barneys72 wrote:dcbullet
Where did you get the hubcaps. I've been looking for a nice set of those for my truck. I'm actually just trying to refrub the ones I have.
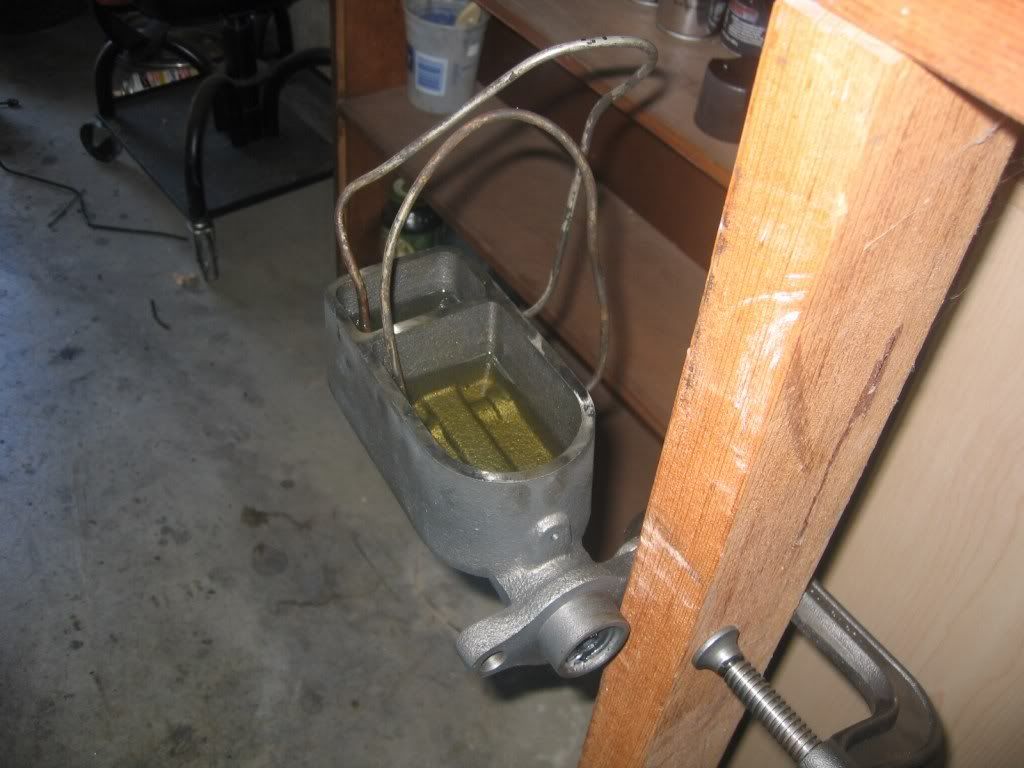
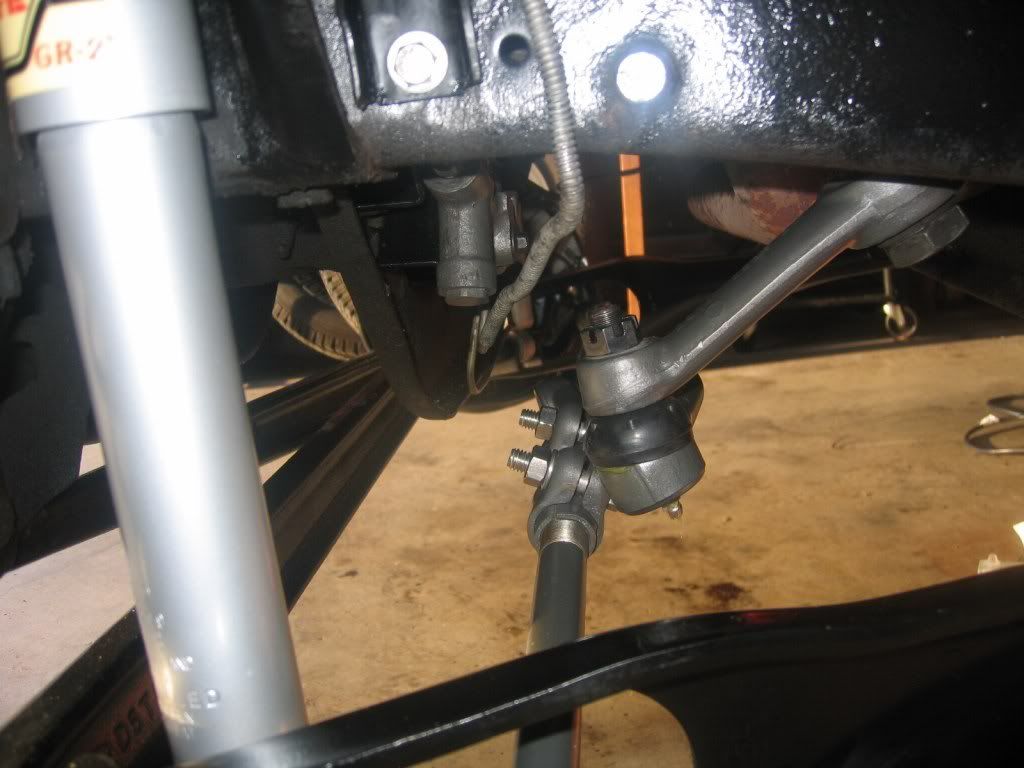
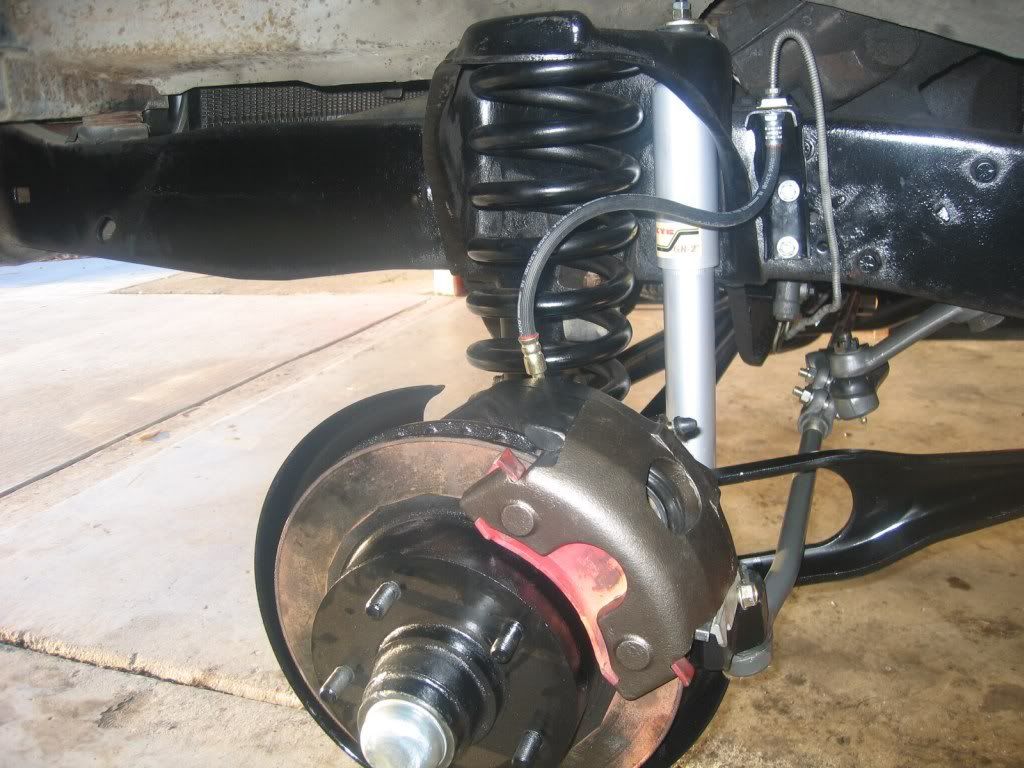
Thanks!QC wrote:Great documentation! Did you have to make a bracket to mount the proportioning valve down there? I would like to mount mine down on the frame somewhere to get it out of the engine compartment.

Yeah, I like it better on the crossmember as well, for keeping the engine compartment tidy.QC wrote:Mine came with a bracket to mount it on top of the steering box under the m/cyl, but it gets in the way of the p/s hoses and kind of fills up that side of the engine compartment. I think I'll make a bracket and mount it about where the '69 one is on the frame. I kind of stalled on this project but reading your post got me inspired again. I've been collecting parts for almost a year to go from manual drum to power dics. I have them all now, I just have to put them on.